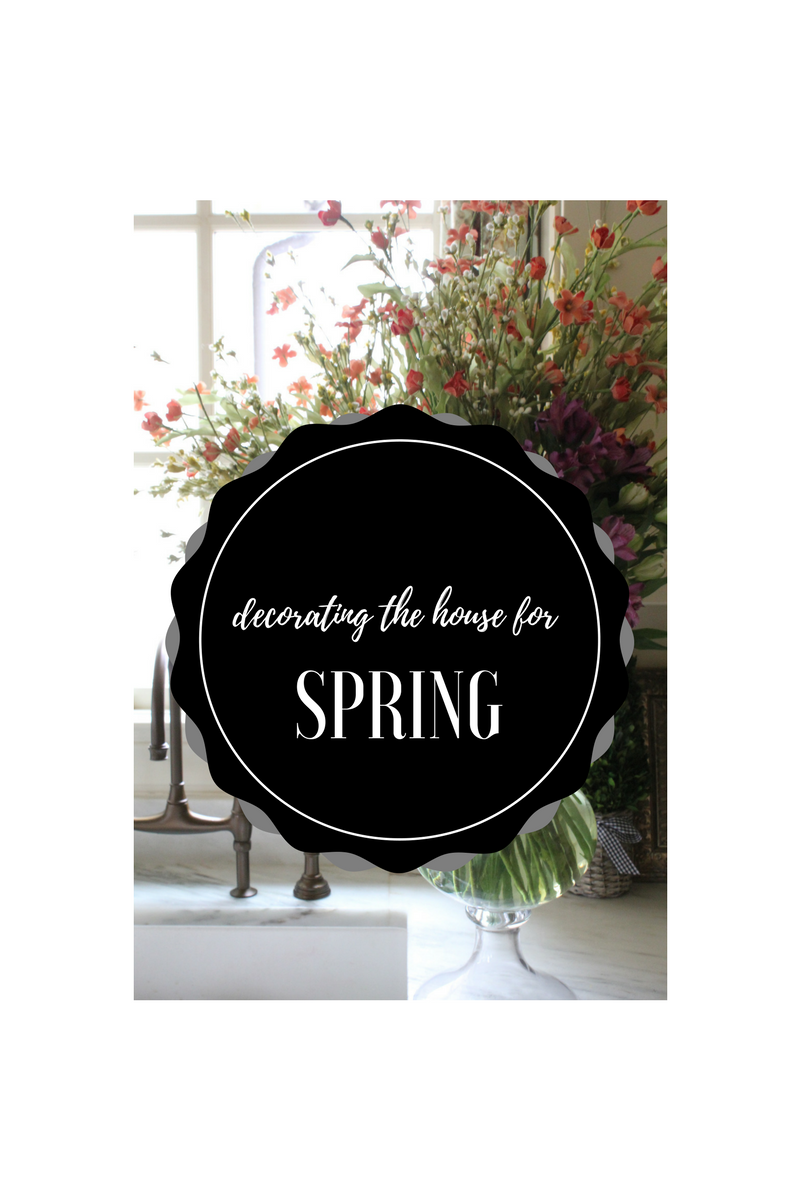
Decorating the house for spring (and the giveaway winner!)
Happy Spring!!! So happy to see sunshine and warmer weather! I'm slowly decorating the house for spring by changing over my fur throws to lighter white ones and sprinkling the house with florals and springtime colors.

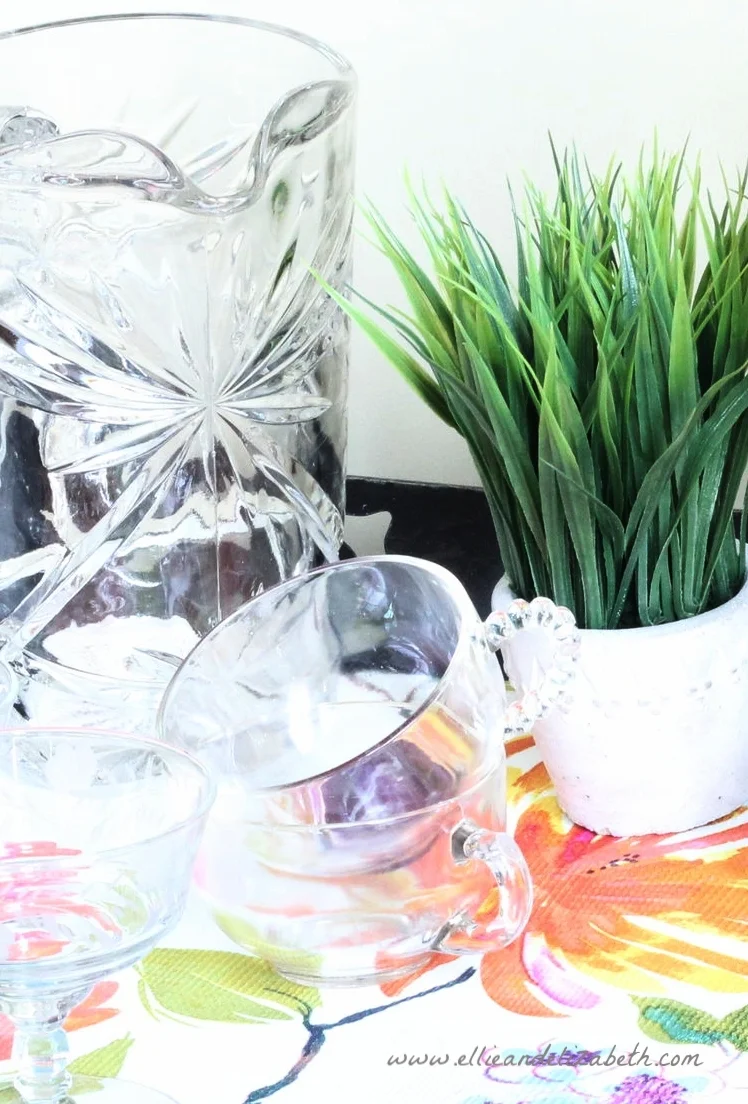
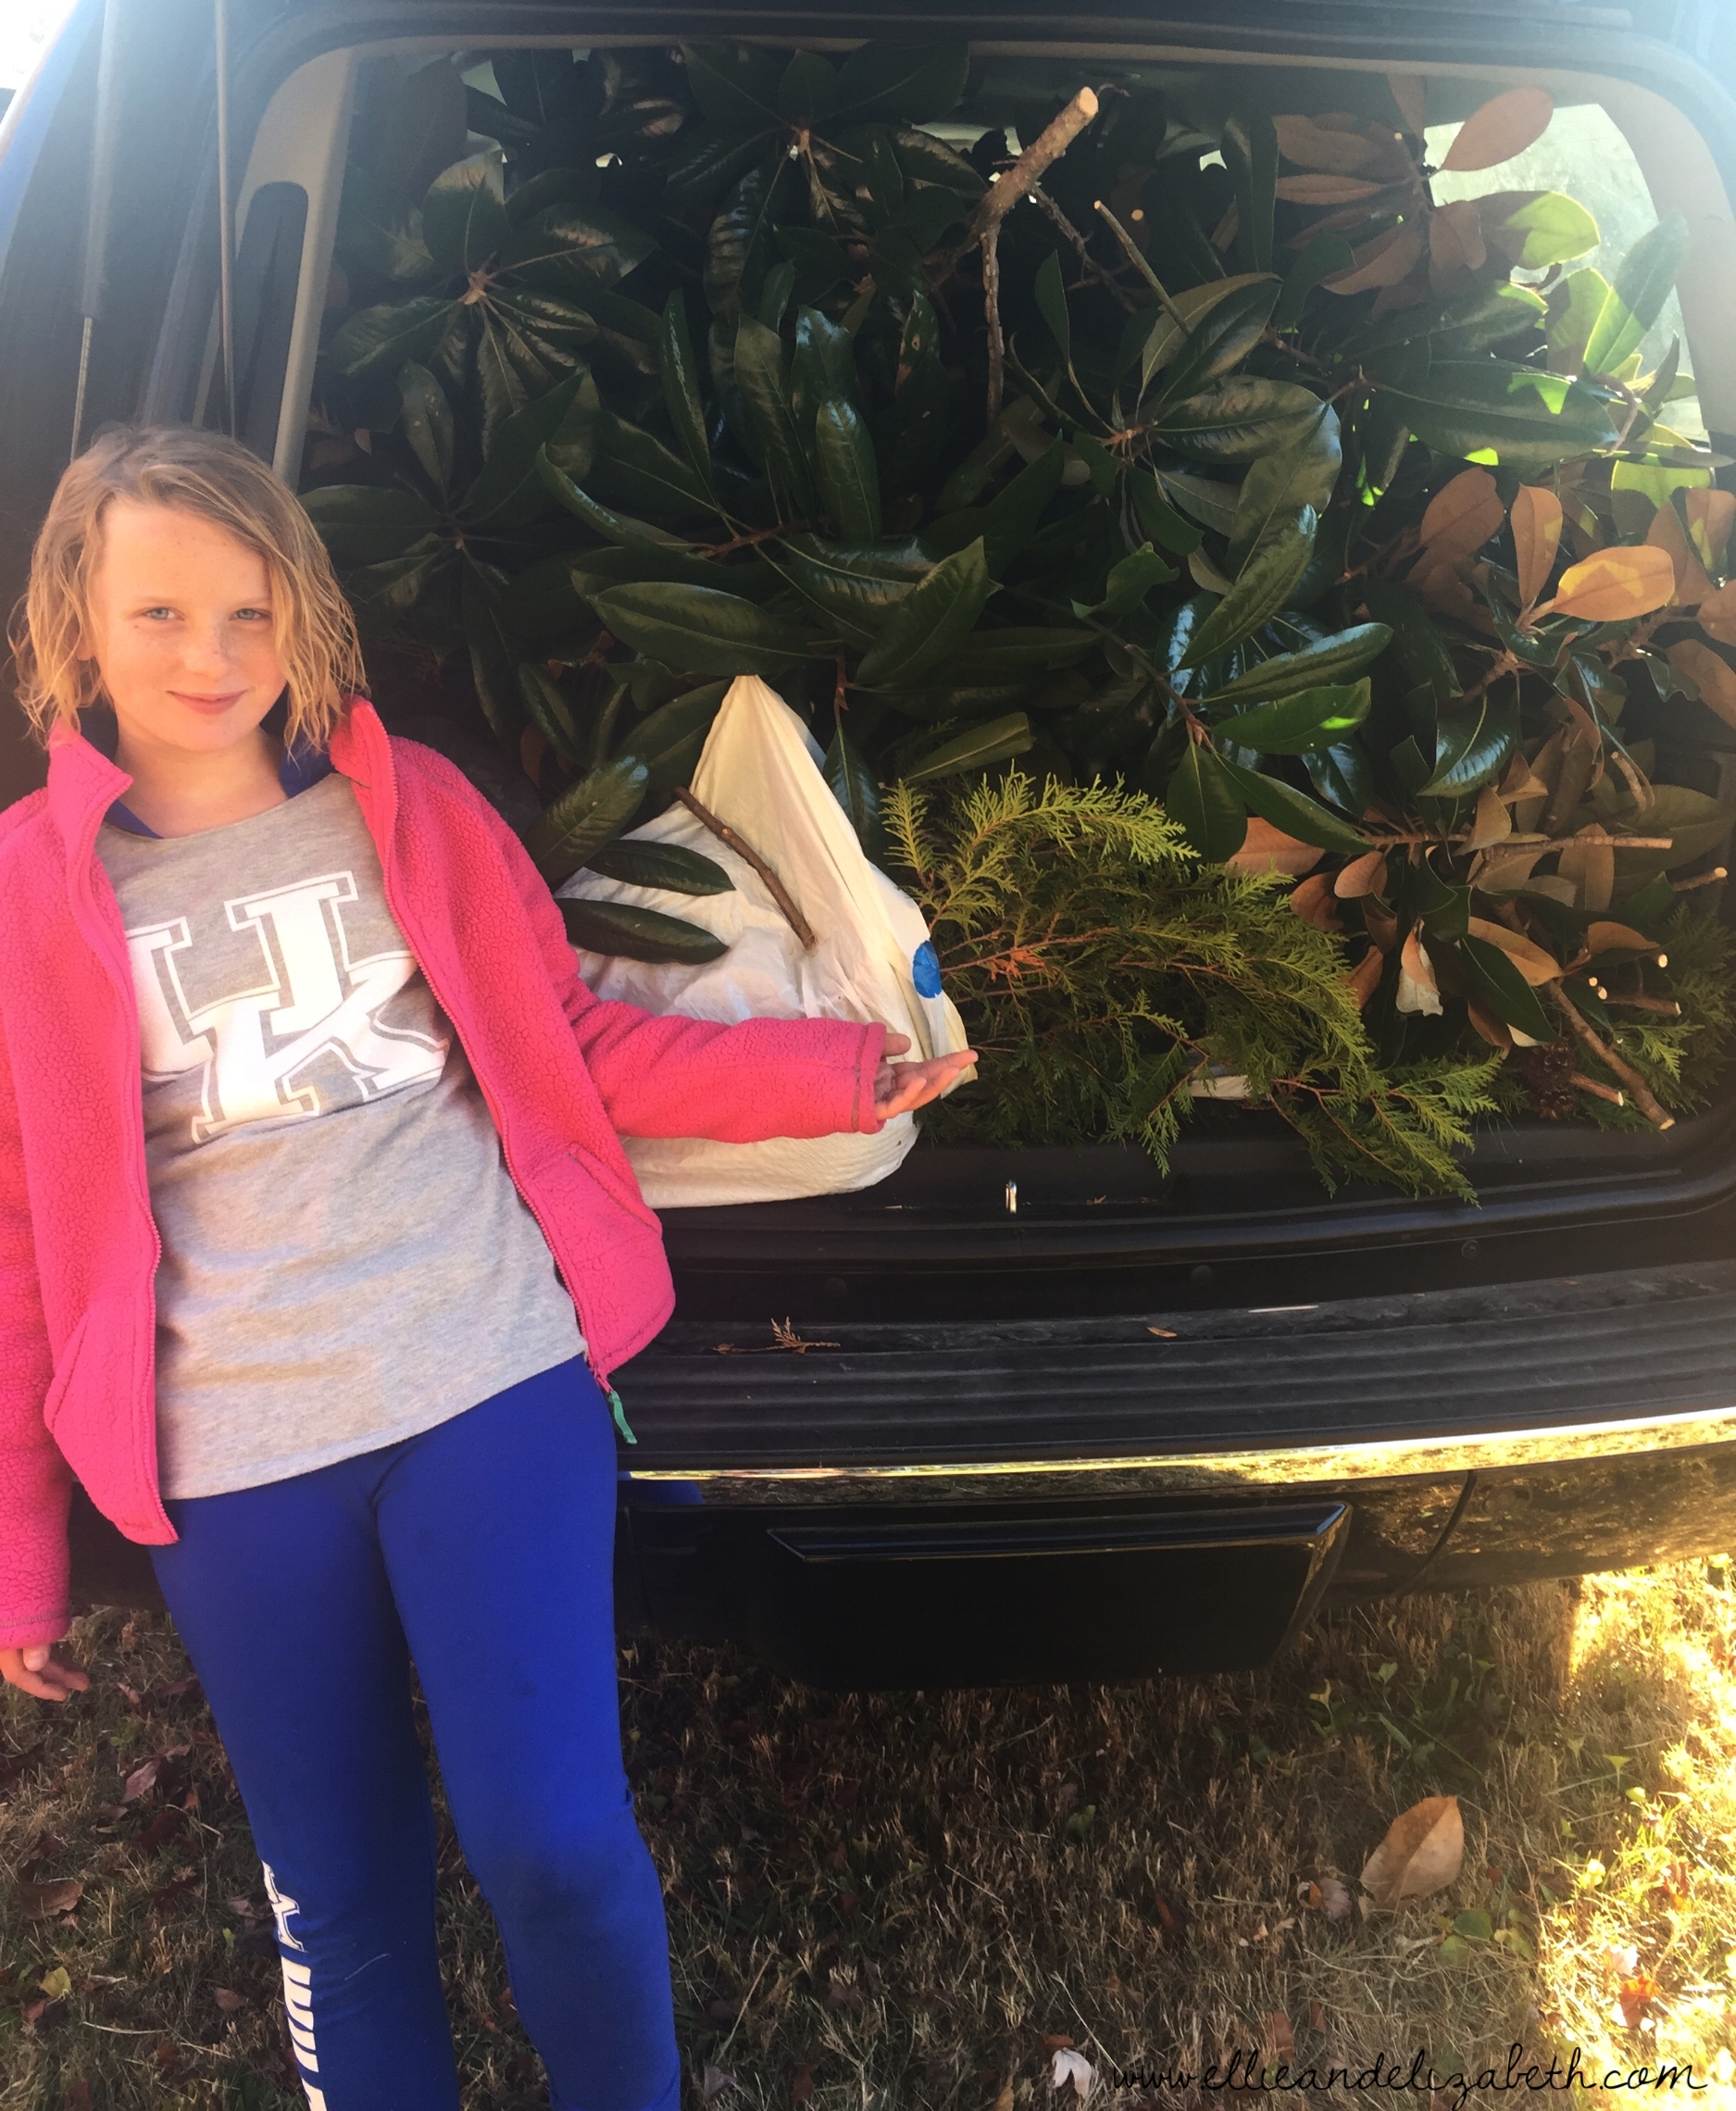
I bought some fresh flowers (thanks Krogers!) and cheated a little by adding some faux ones (Hobby Lobby) to the back of the vase. This way for $4 a week or so I can change out the flowers up front and still have a huge bouquet for very little money. I also sometimes just add clippings from the yard. (Love those free clippings!) My goal is for our landscaping to include a clipping garden someday - hydrangeas would be great!! - but at this point any landscaping will do!.

I made floral slip covers for a couple of pillows (ok, one and 3/4 pillows). I was bragging to hubby that it was so awesome that my sewing machine has survived 20 years and then I promptly broke it before the last pillow was done! I ended up safety pinning the back of the second pillow. There's no room for perfect in this house! Besides, if you come over judging my pillows you might miss out on my favorite peanut butter bars (recipe coming soon!). Here's a great tutorial on how to make a pillow slipcover if you need one. (and I was laughing that I think we used the same fabric).

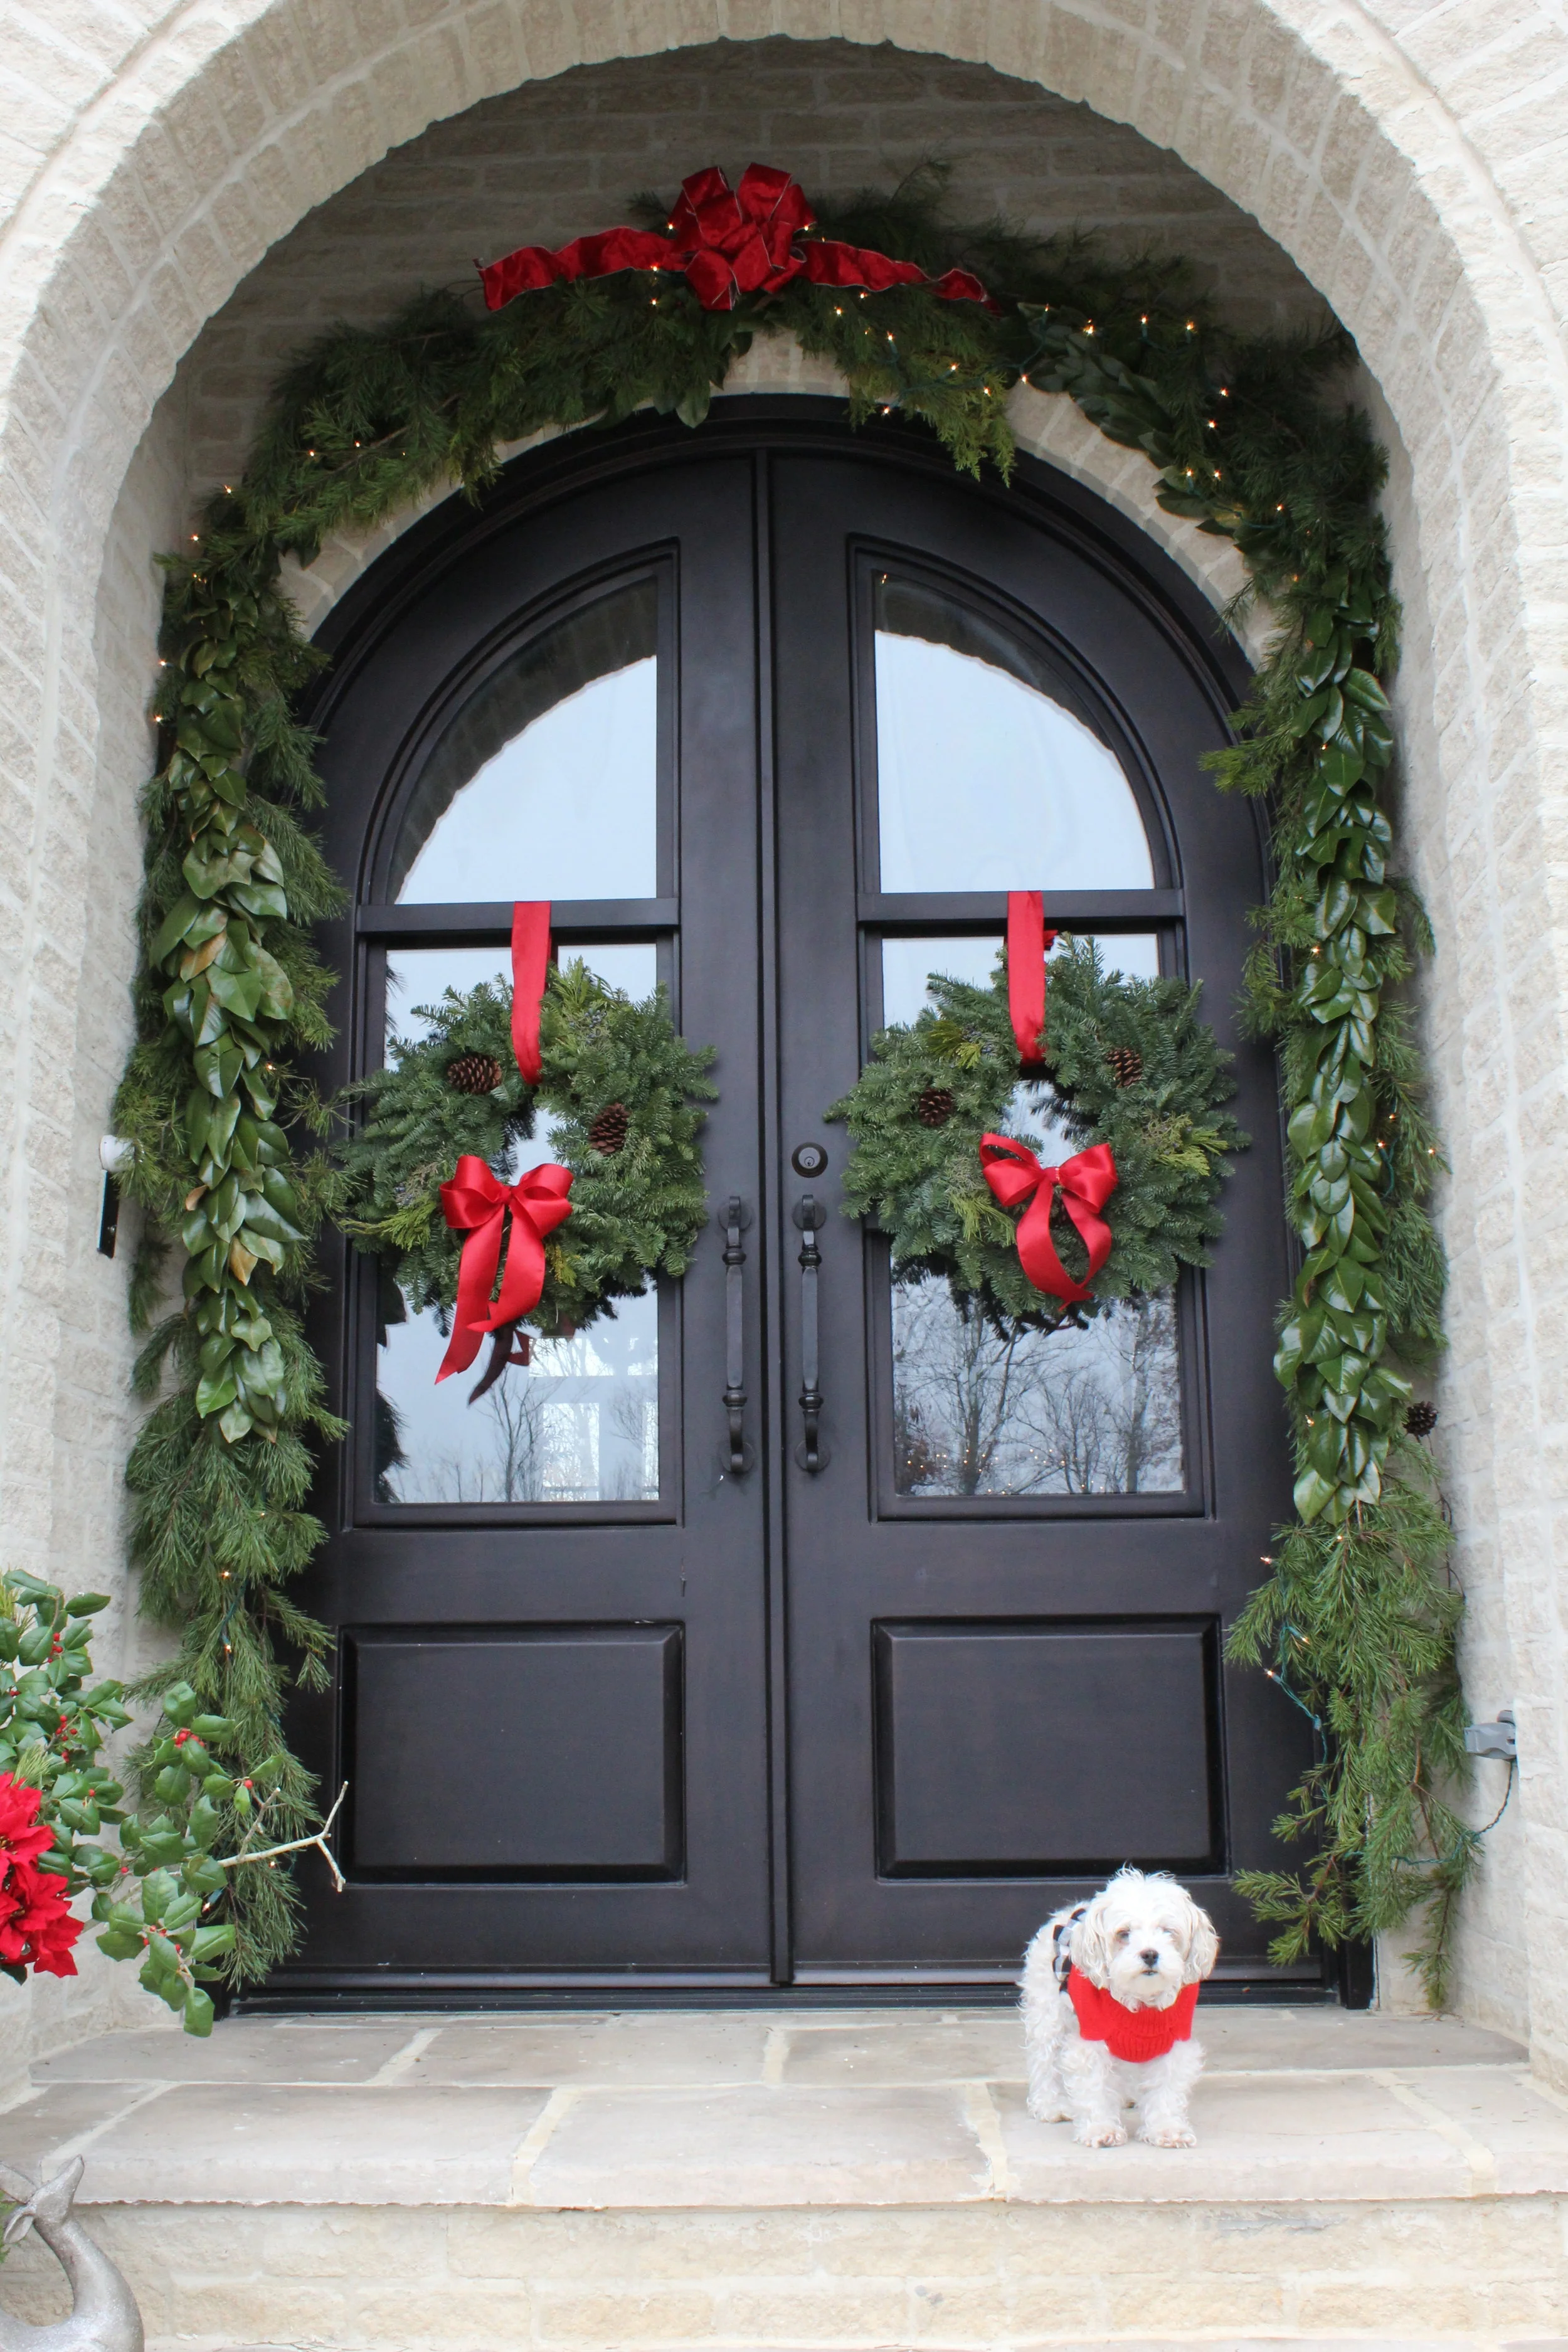
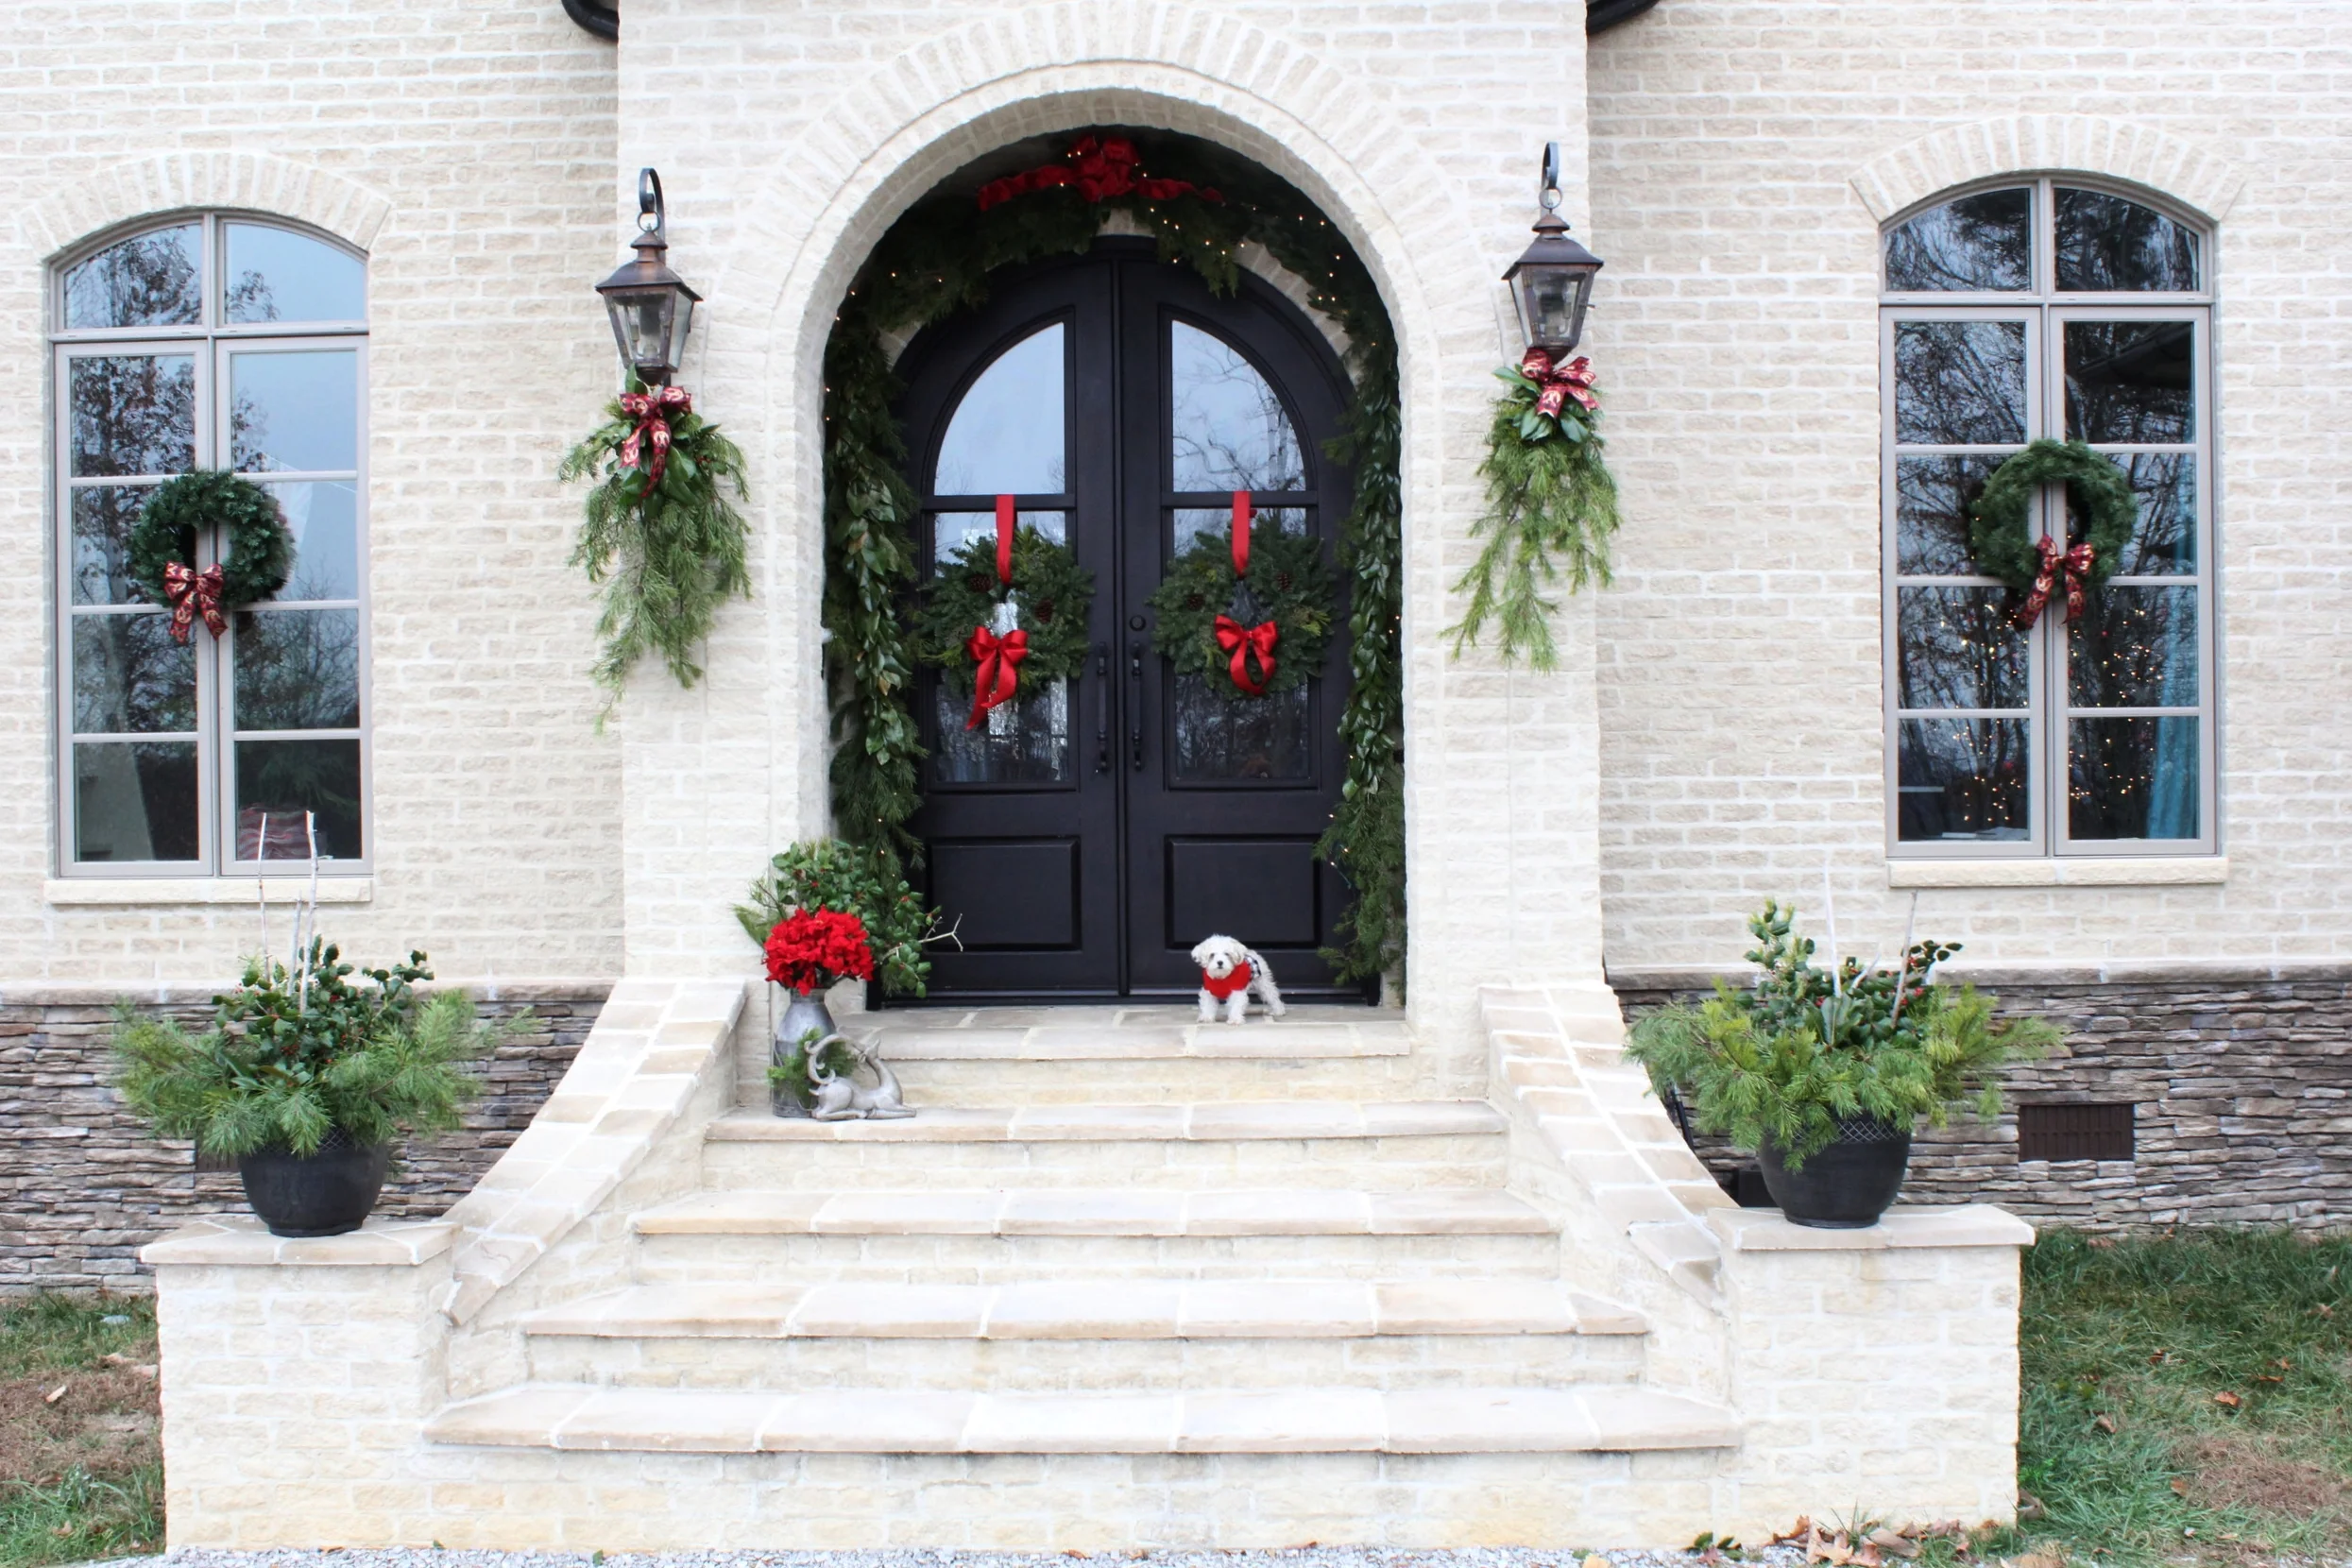
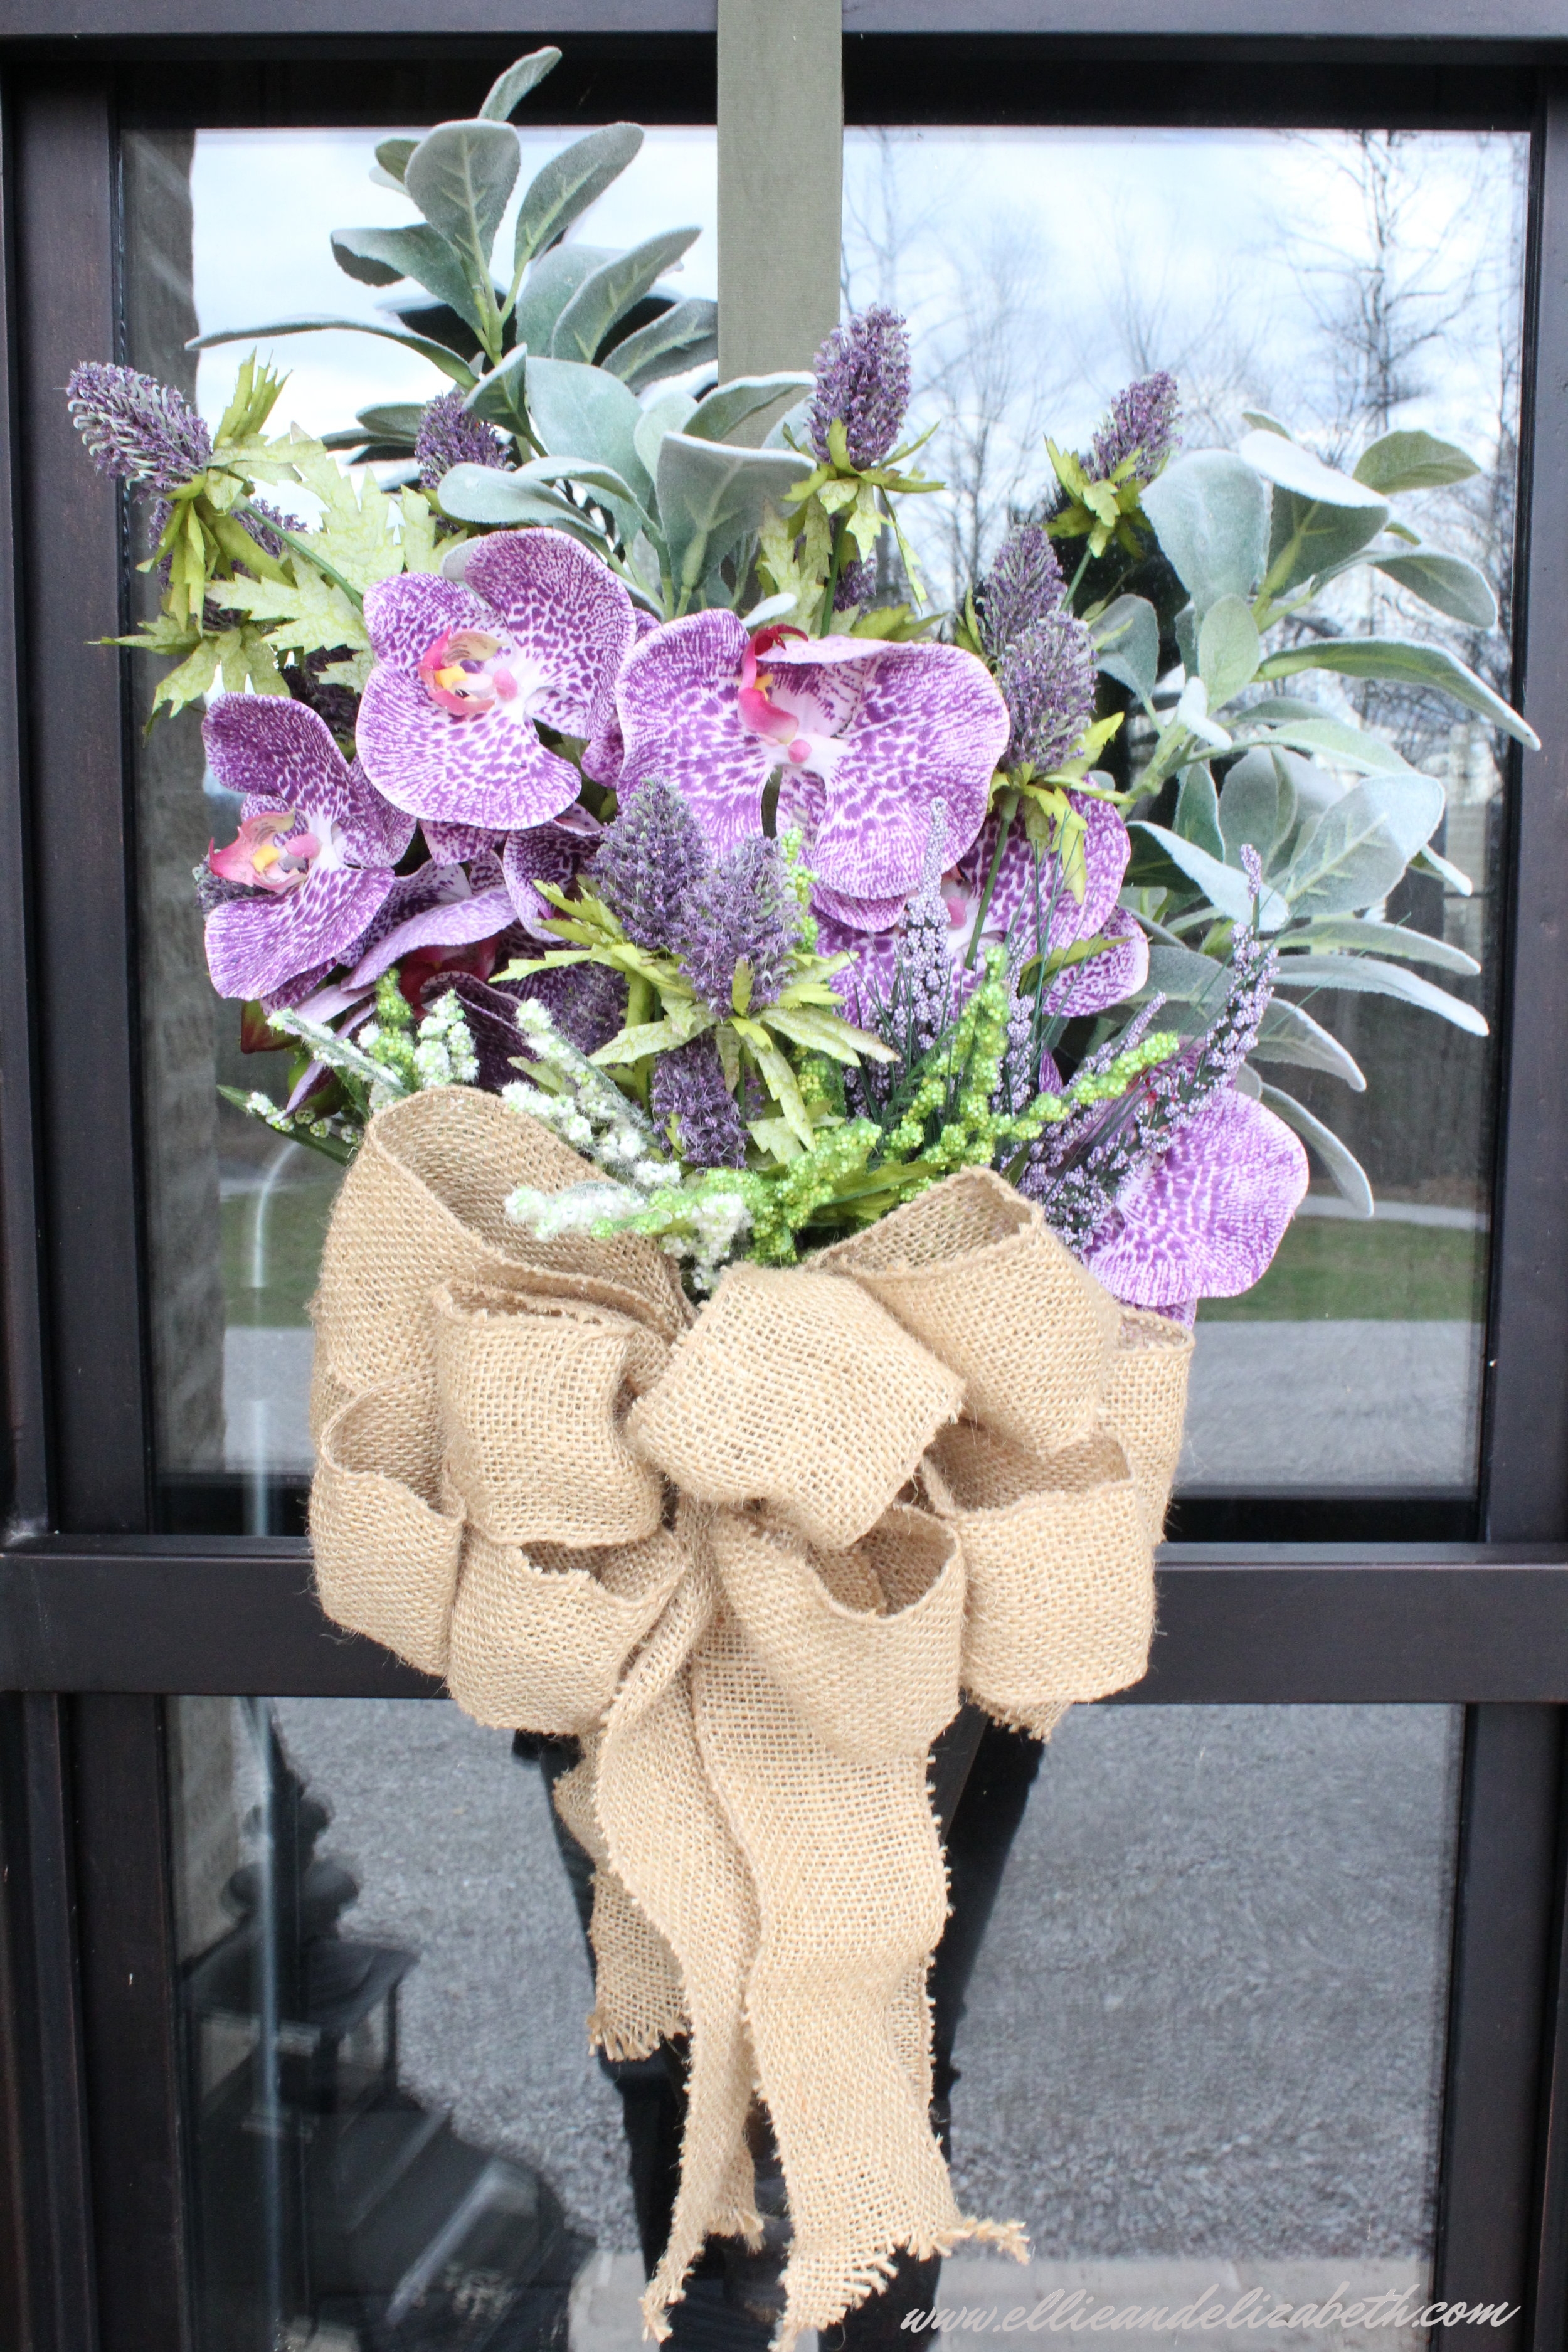
The front doors got a little change up from the tired winter wreaths that were there. Fresh flowers would've been amazing, however I'm a low maintenance girl so these faux ones will do just fine.
How are you decorating the house for spring?
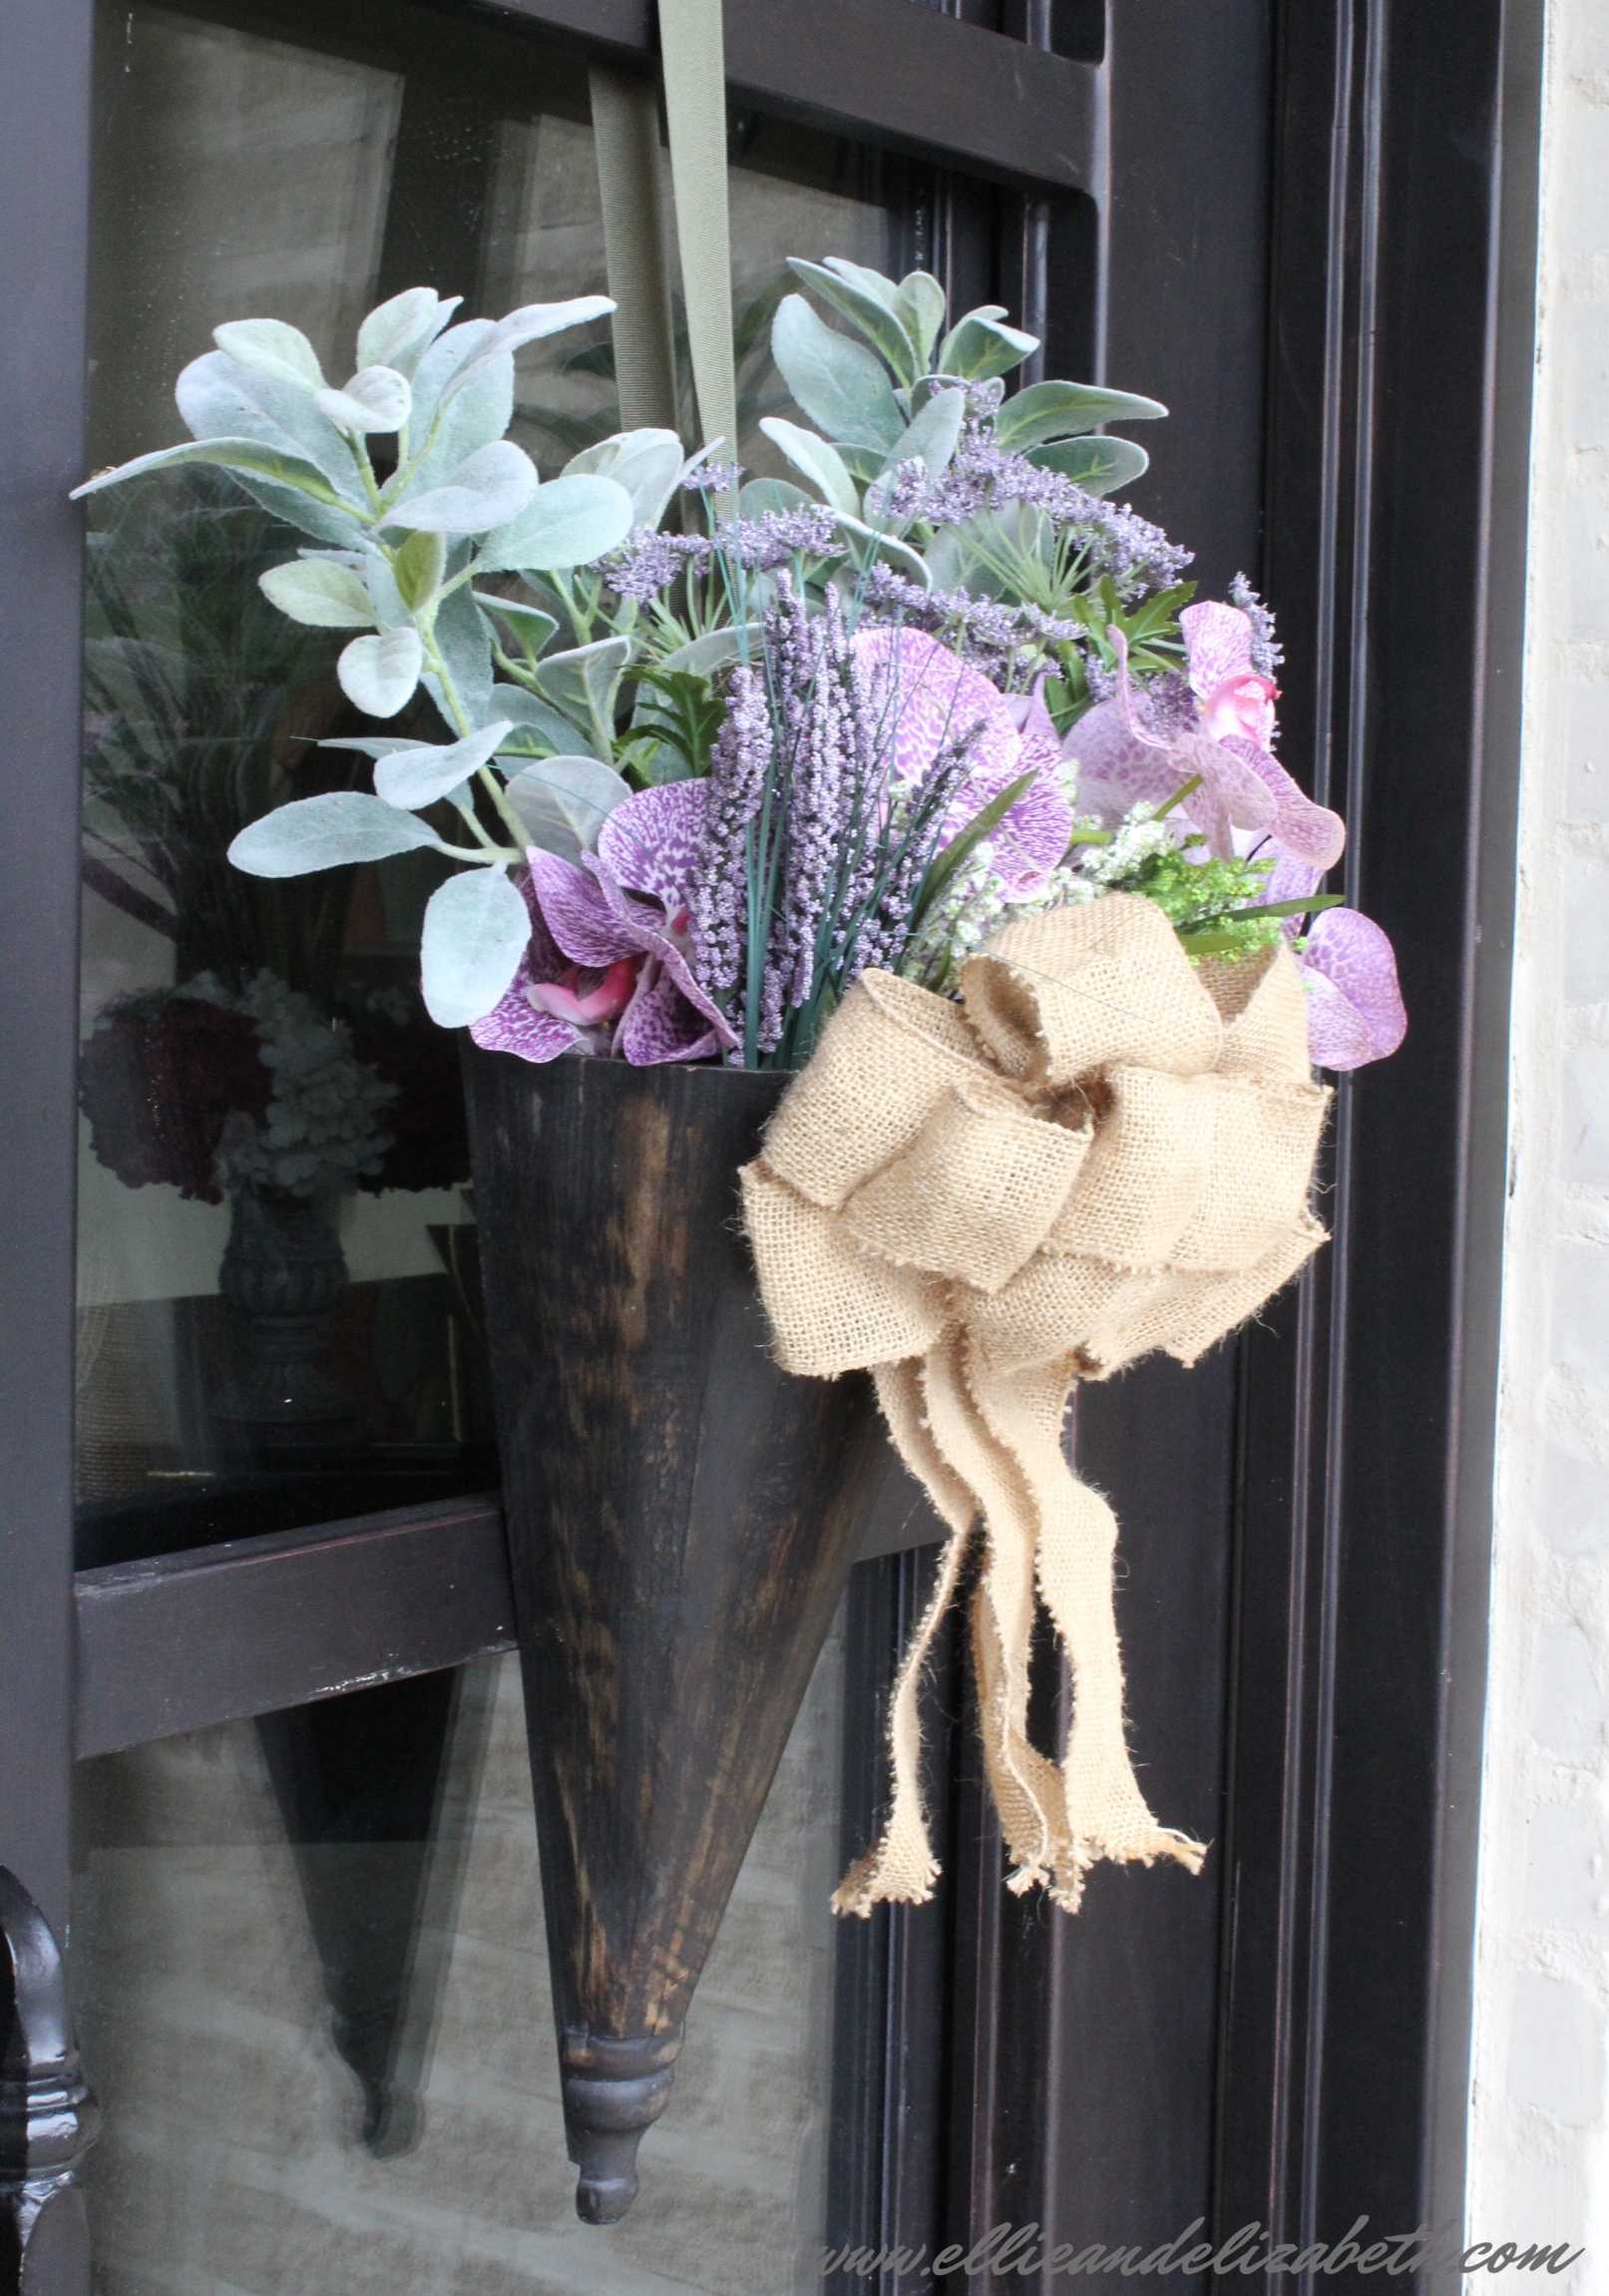
Hobby Lobby container, flowers and bow from JoAnn Fabrics
AND FINALLY....Great news! I put Hubby in charge of picking the random winner for the wreath giveaway last week (so you can totally blame him if you didn't win, haha) and he randomly chose.......
Kelly!
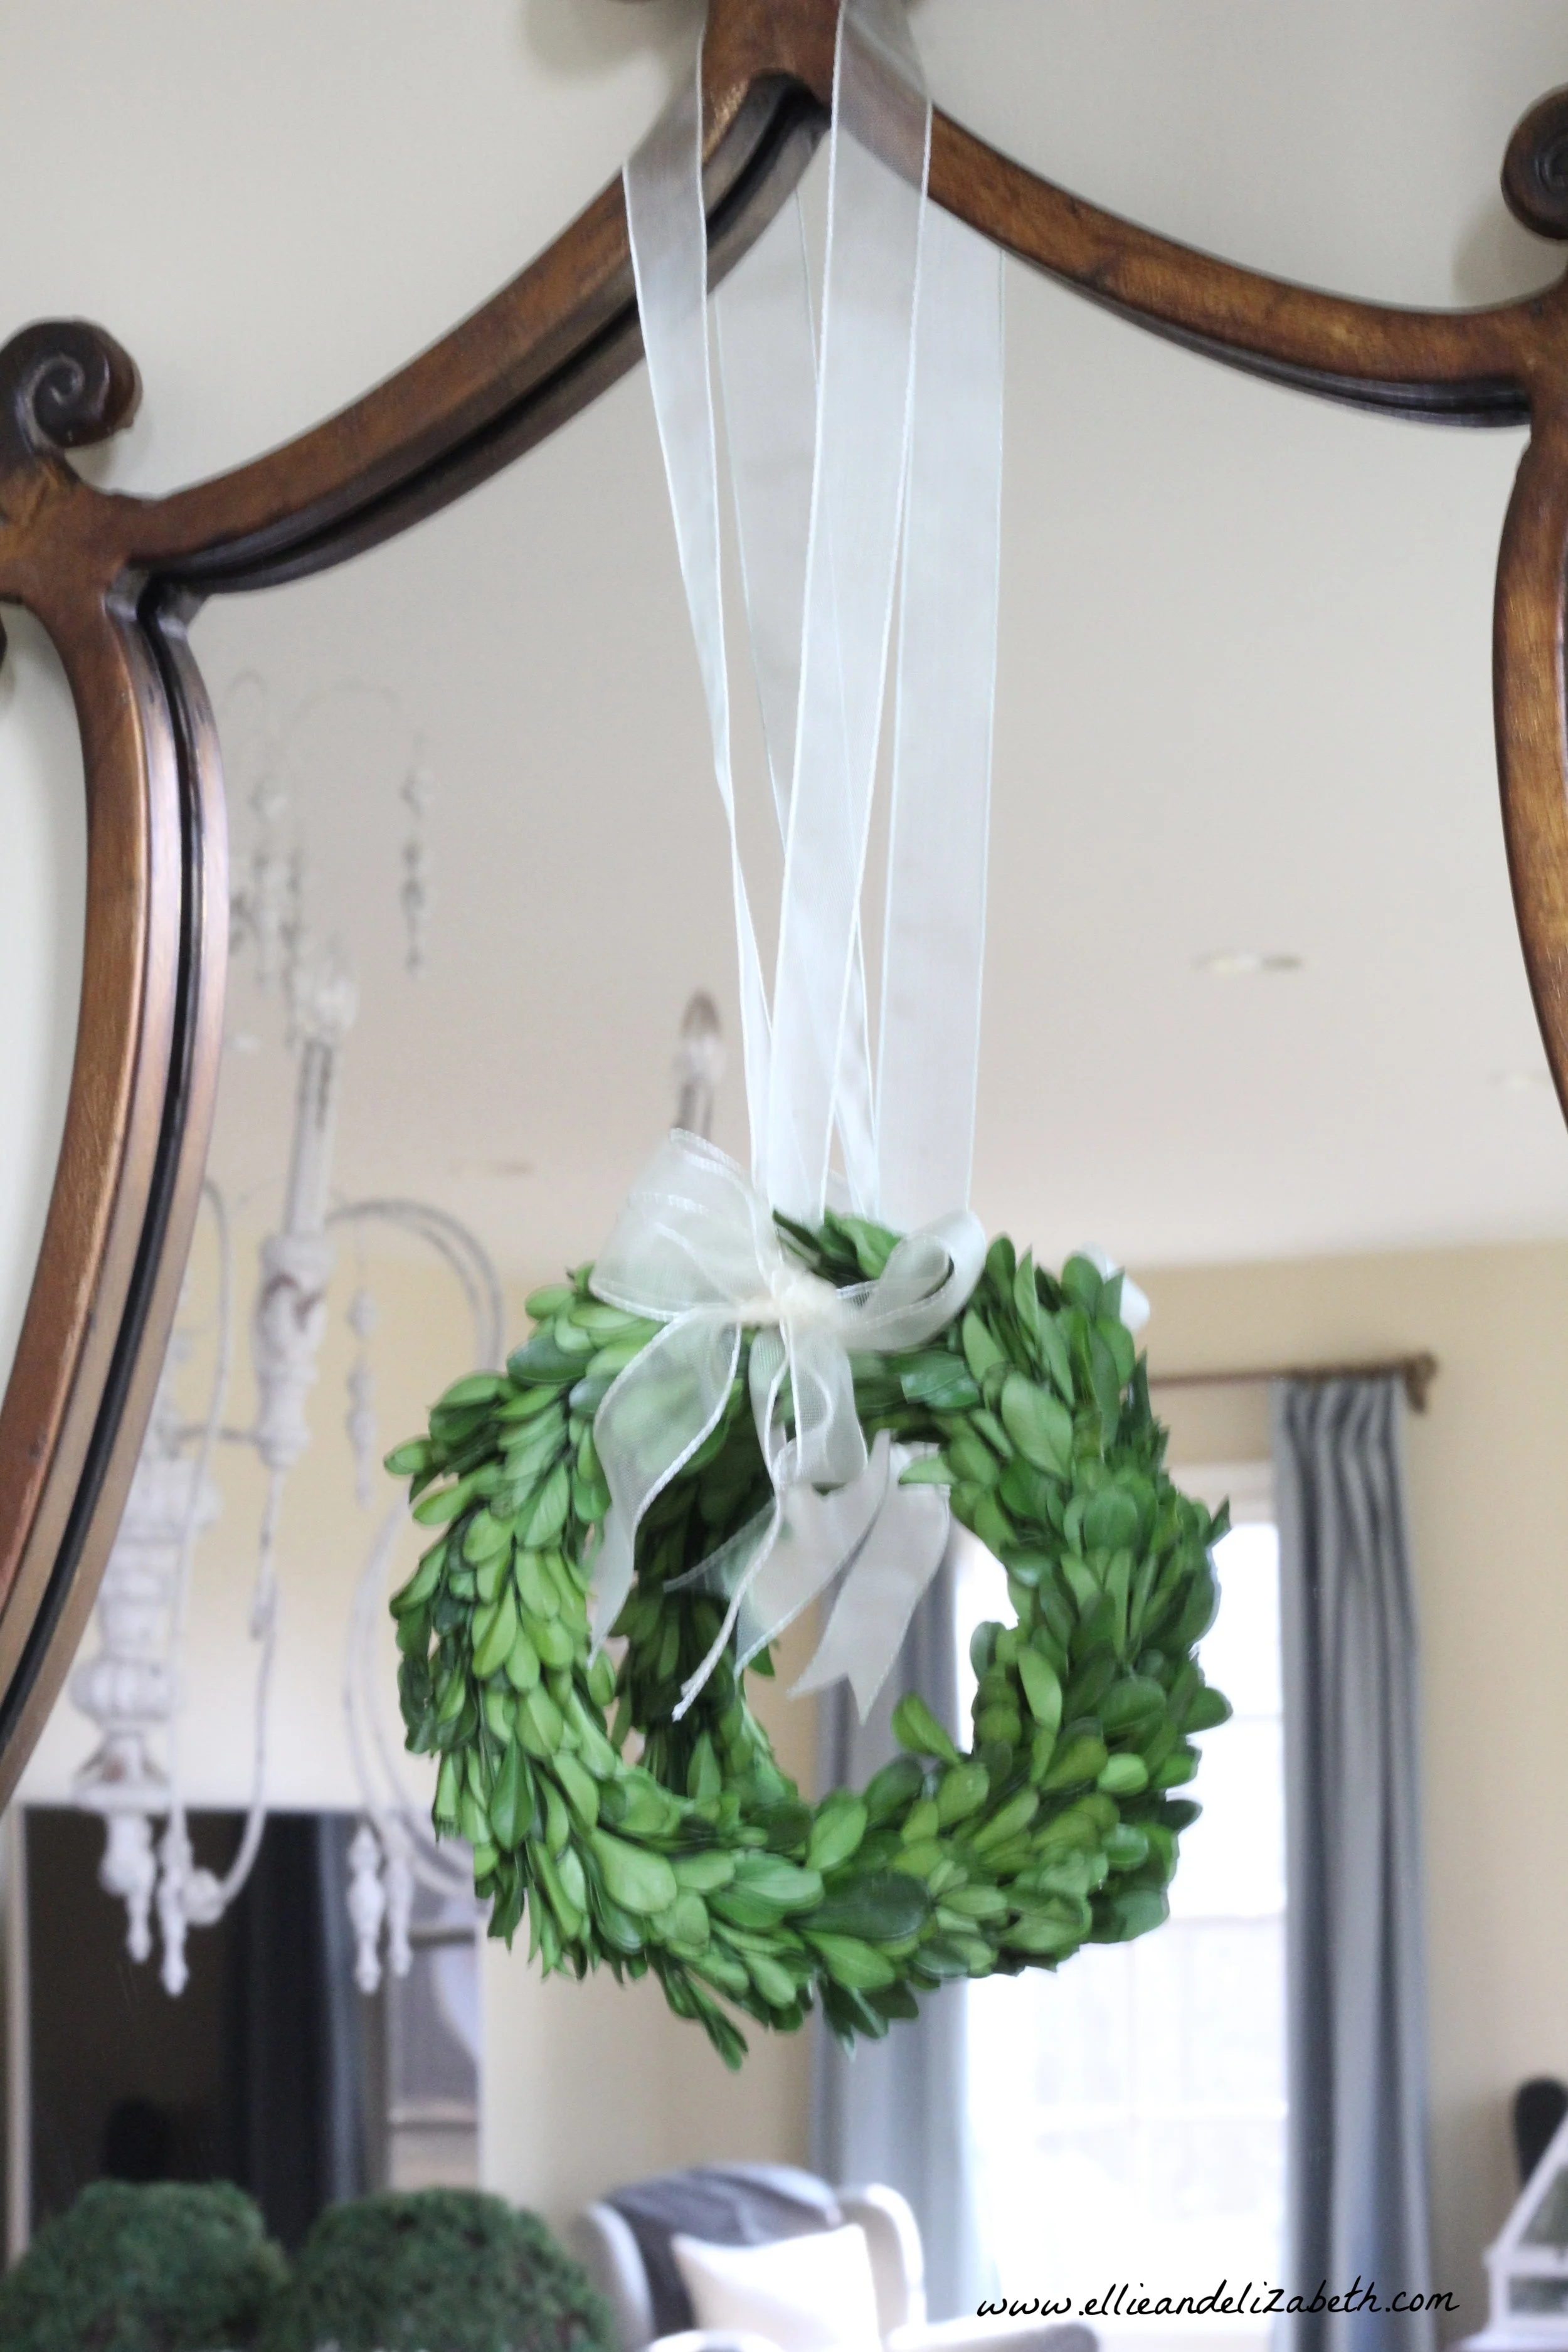
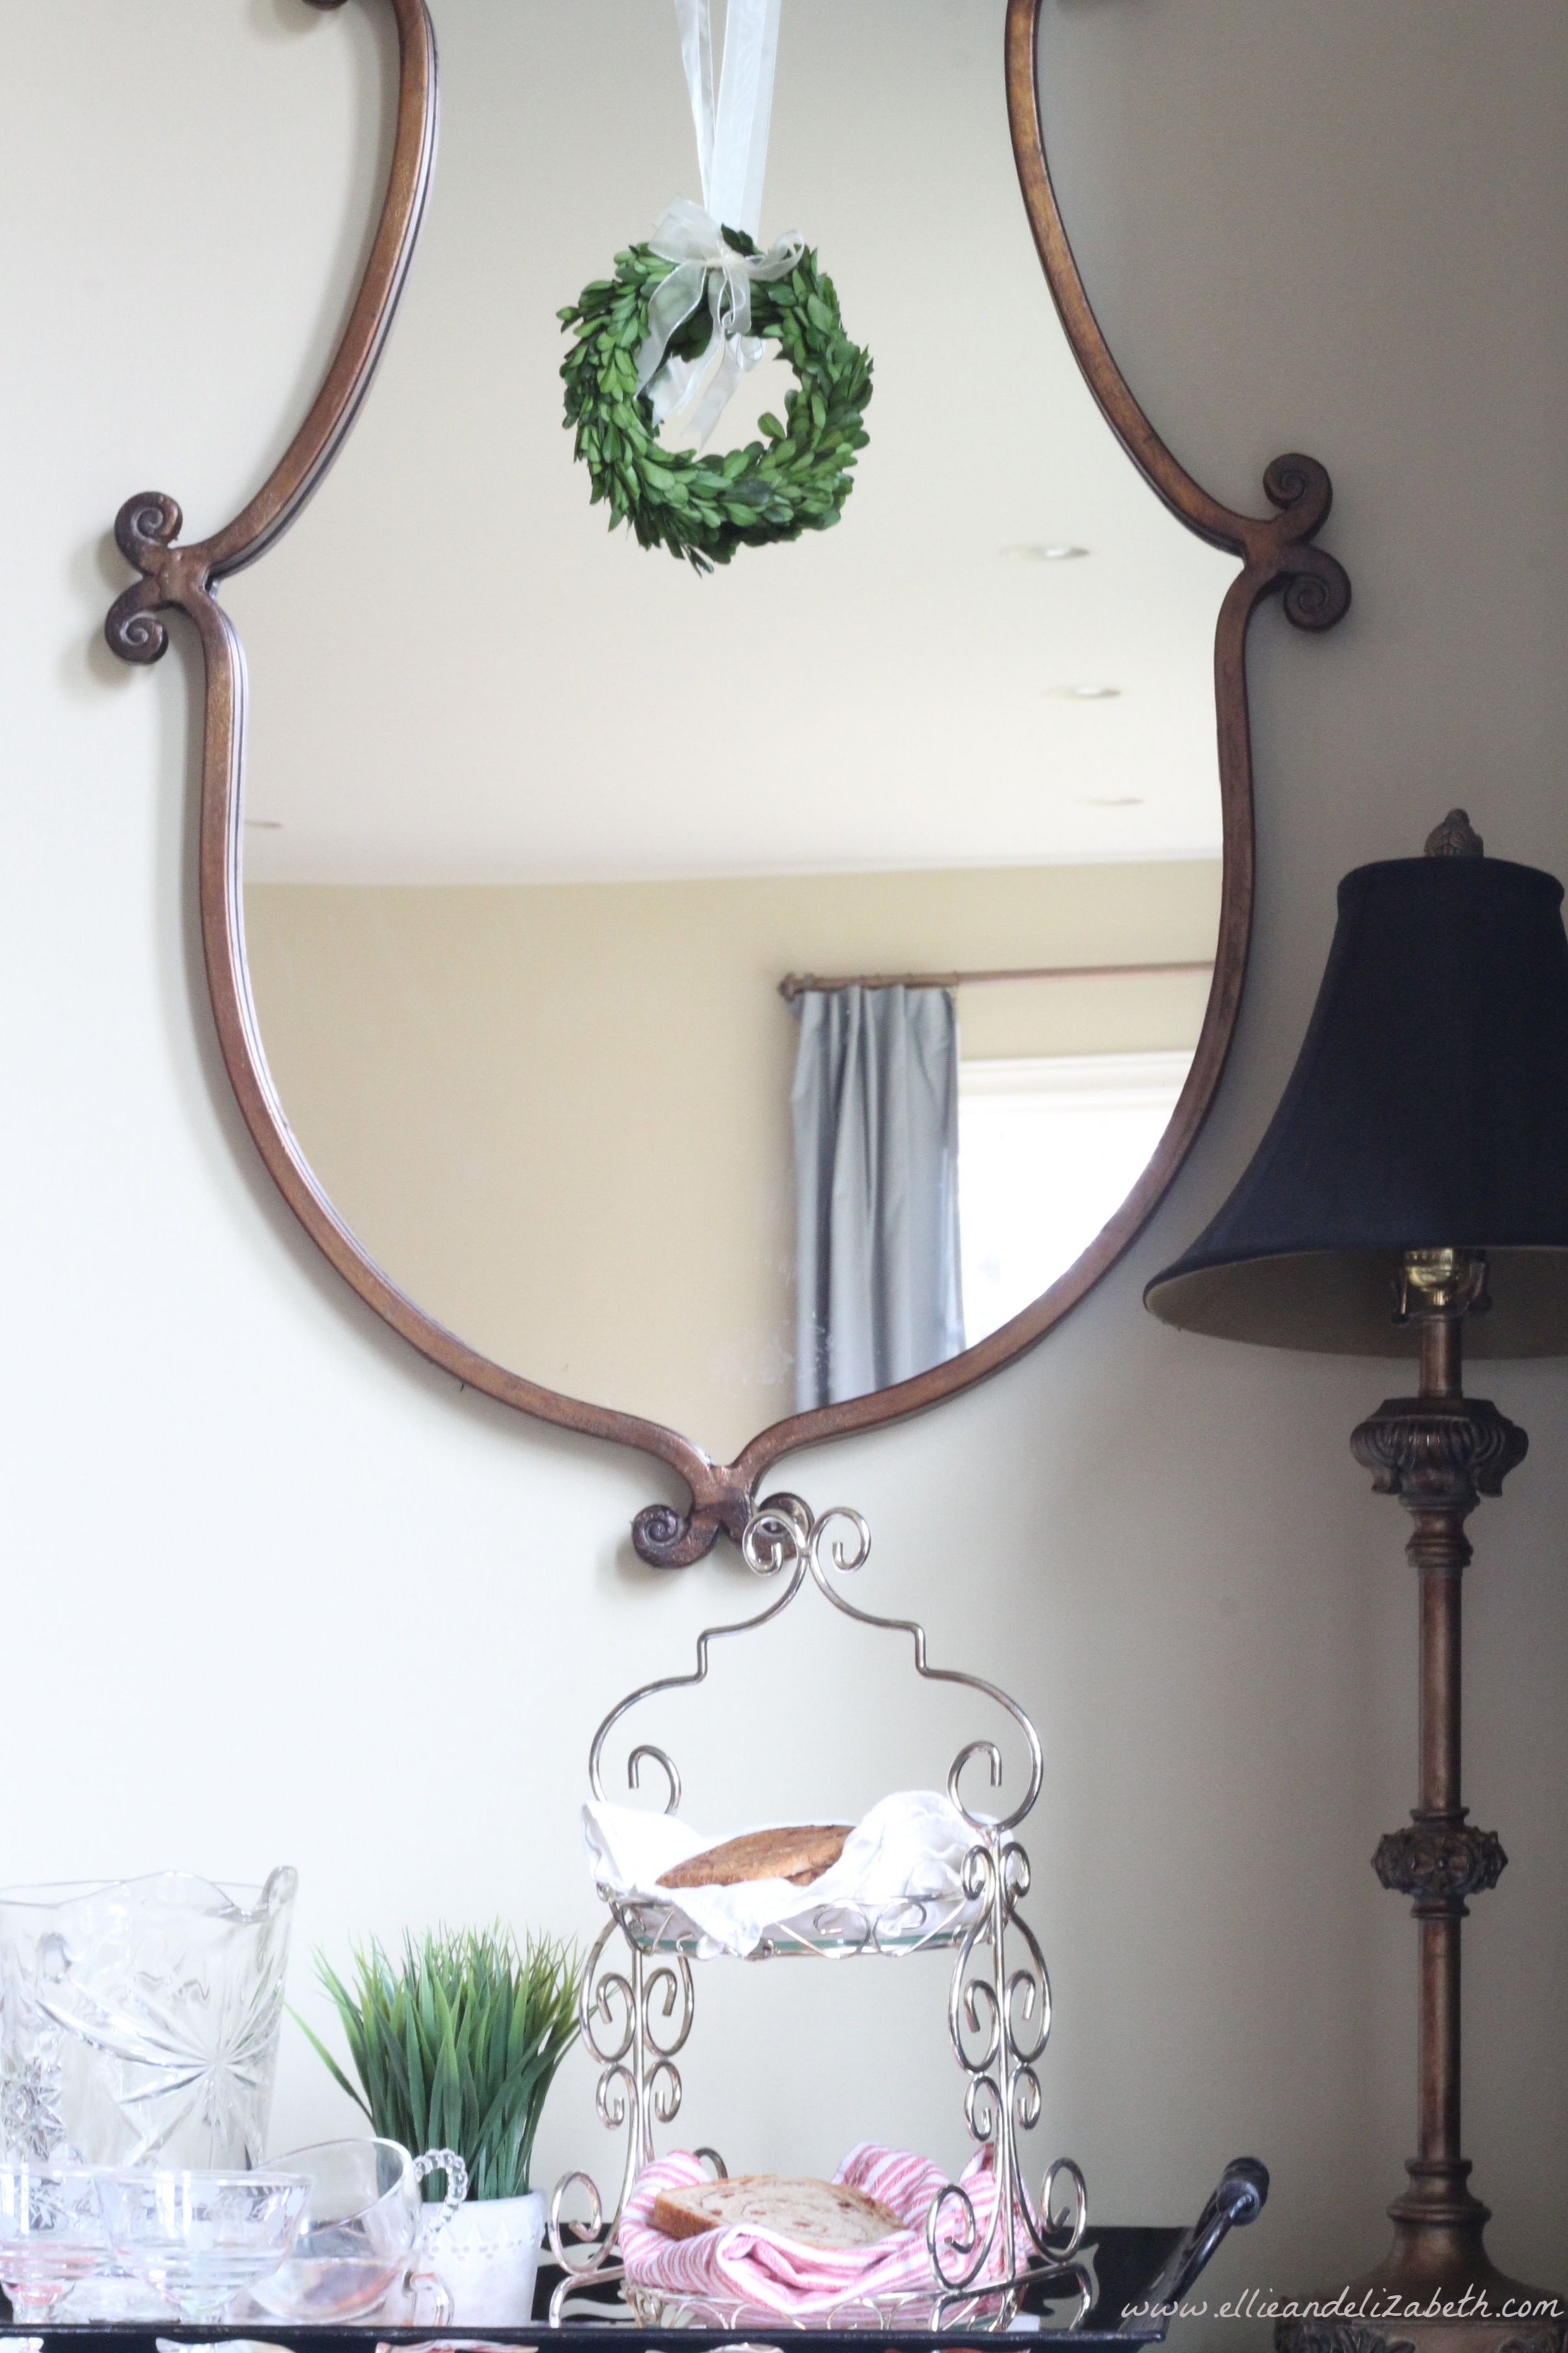
Kelly, if you added your email address, I'm having technical difficulties and unfortunately it's not showing up. So Kelly, the fourth commenter (that wrote 'I love your blog. I always enjoy Ellie's comments at the end, too!') please email me at elizabeth@ellieandelizabeth.com so I can get your shipping address to ship your boxwood wreath!! Congrats and thanks to all of you who entered with your sweet and helpful comments. I truly wish I could send each one of you the wreath (find a set of them here). One little comment makes my whole day. You are the best!
Love,
Elizabeth

Watch out world, Elizabeth is now safety pinning things together. At least she's stopped making her curtains with the glue gun.